Where to Look for Northern Lights: Expert Aurora Spotting and Direction Guide
Learn exactly where to look for northern lights with expert guidance on aurora direction, sky positioning, and optimal viewing angles for maximum aurora success.
Where to Look for Northern Lights: Expert Aurora Spotting and Direction Guide
Successfully spotting the northern lights requires knowing exactly where to look in the night sky, understanding aurora movement patterns, and recognizing the subtle signs that indicate aurora activity. This comprehensive guide provides expert knowledge on aurora positioning, directional guidance, and proven techniques for maximizing your northern lights viewing success.
Understanding Aurora Sky Position
The Northern Horizon: Your Primary Focus
Why North Matters: The aurora borealis appears predominantly in the northern portion of the sky due to Earth's magnetic field configuration. Solar particles follow magnetic field lines that converge at the magnetic poles, creating the aurora oval that centers around magnetic north.
Magnetic vs. Geographic North:
- Geographic North: The direction to the North Pole (0° longitude)
- Magnetic North: The direction to the magnetic north pole (currently in northern Canada)
- Magnetic Declination: The difference between geographic and magnetic north varies by location
- Lyngen Peninsula: Magnetic declination approximately 8° east of true north
- Practical Impact: Aurora appears slightly northeast of true north in most viewing locations
Aurora Oval Positioning
The Auroral Zone: Aurora activity concentrates in an oval-shaped region around the magnetic poles, typically covering latitudes from 65-72°N during quiet conditions and expanding during active periods.
Oval Characteristics:
- Center Position: Approximately 3° from magnetic north pole
- Size Variation: Expands during high solar activity, contracts during quiet periods
- Seasonal Shift: Oval position changes slightly with Earth's seasonal tilt
- Daily Movement: Oval rotates with Earth but maintains position relative to sun
- Activity Dependence: Higher KP index values expand oval southward
Directional Guide for Aurora Spotting
Cardinal Direction Reference
Primary Viewing Directions:
- North (0°): Core aurora viewing direction for most observers
- Northeast (45°): Common aurora position during evening hours
- Northwest (315°): Frequent aurora location during late night/early morning
- Due North (360°): Optimal direction during peak aurora activity
- Magnetic North: True aurora center (varies by location)
Horizon to Zenith Coverage: Aurora can appear anywhere from the northern horizon to directly overhead:
- Horizon Level (0° elevation): Distant aurora on northern horizon
- Low Aurora (0-30° elevation): Most common aurora position
- High Aurora (30-60° elevation): Strong activity reaching higher in sky
- Overhead Aurora (60-90° elevation): Intense activity creating corona displays
- Zenith Corona: Aurora converging directly overhead during peak activity
Time-Based Directional Changes
Evening Aurora Position (6:00-10:00 PM):
- Primary Direction: Northeast to north-northeast
- Elevation Range: Typically 10-40° above horizon
- Movement Pattern: Aurora often builds from northeast toward northwest
- Intensity Development: Gradual brightening as evening progresses
- Viewing Strategy: Start scanning northeastern horizon at astronomical darkness
Late Night Aurora Position (10:00 PM-2:00 AM):
- Primary Direction: North to slightly northwest
- Elevation Range: Can reach 30-70° above horizon during active periods
- Movement Pattern: Dynamic dancing and flowing across northern sky
- Peak Activity: Strongest displays often occur during this period
- Viewing Strategy: Focus on due north with peripheral vision scanning
Pre-Dawn Aurora Position (2:00-6:00 AM):
- Primary Direction: Northwest to north-northwest
- Elevation Range: Often maintains 20-50° elevation through pre-dawn hours
- Movement Pattern: Sustained activity with gradual fading toward sunrise
- Persistence: Aurora can remain visible until astronomical twilight begins
- Viewing Strategy: Monitor northwestern sky for continued activity
Recognizing Aurora Activity
Initial Aurora Identification
Distinguishing Aurora from Clouds: Beginning aurora watchers often confuse faint aurora with clouds. Key differences:
Aurora Characteristics:
- Color: Greenish tint even when very faint
- Structure: Vertical organization and columnar appearance
- Movement: Slow, flowing motion distinct from cloud movement
- Star Visibility: Stars remain visible through aurora
- Brightness Variations: Gradual brightening and dimming patterns
Cloud Characteristics:
- Color: Gray or white without green tinting
- Structure: Horizontal layering and irregular shapes
- Movement: Wind-driven motion typically horizontal
- Star Blocking: Clouds obscure stars completely
- Consistency: Uniform appearance without brightness pulsing
Progressive Aurora Development
Stage 1: Initial Appearance (Faint Arc)
- Location: Low on northern horizon
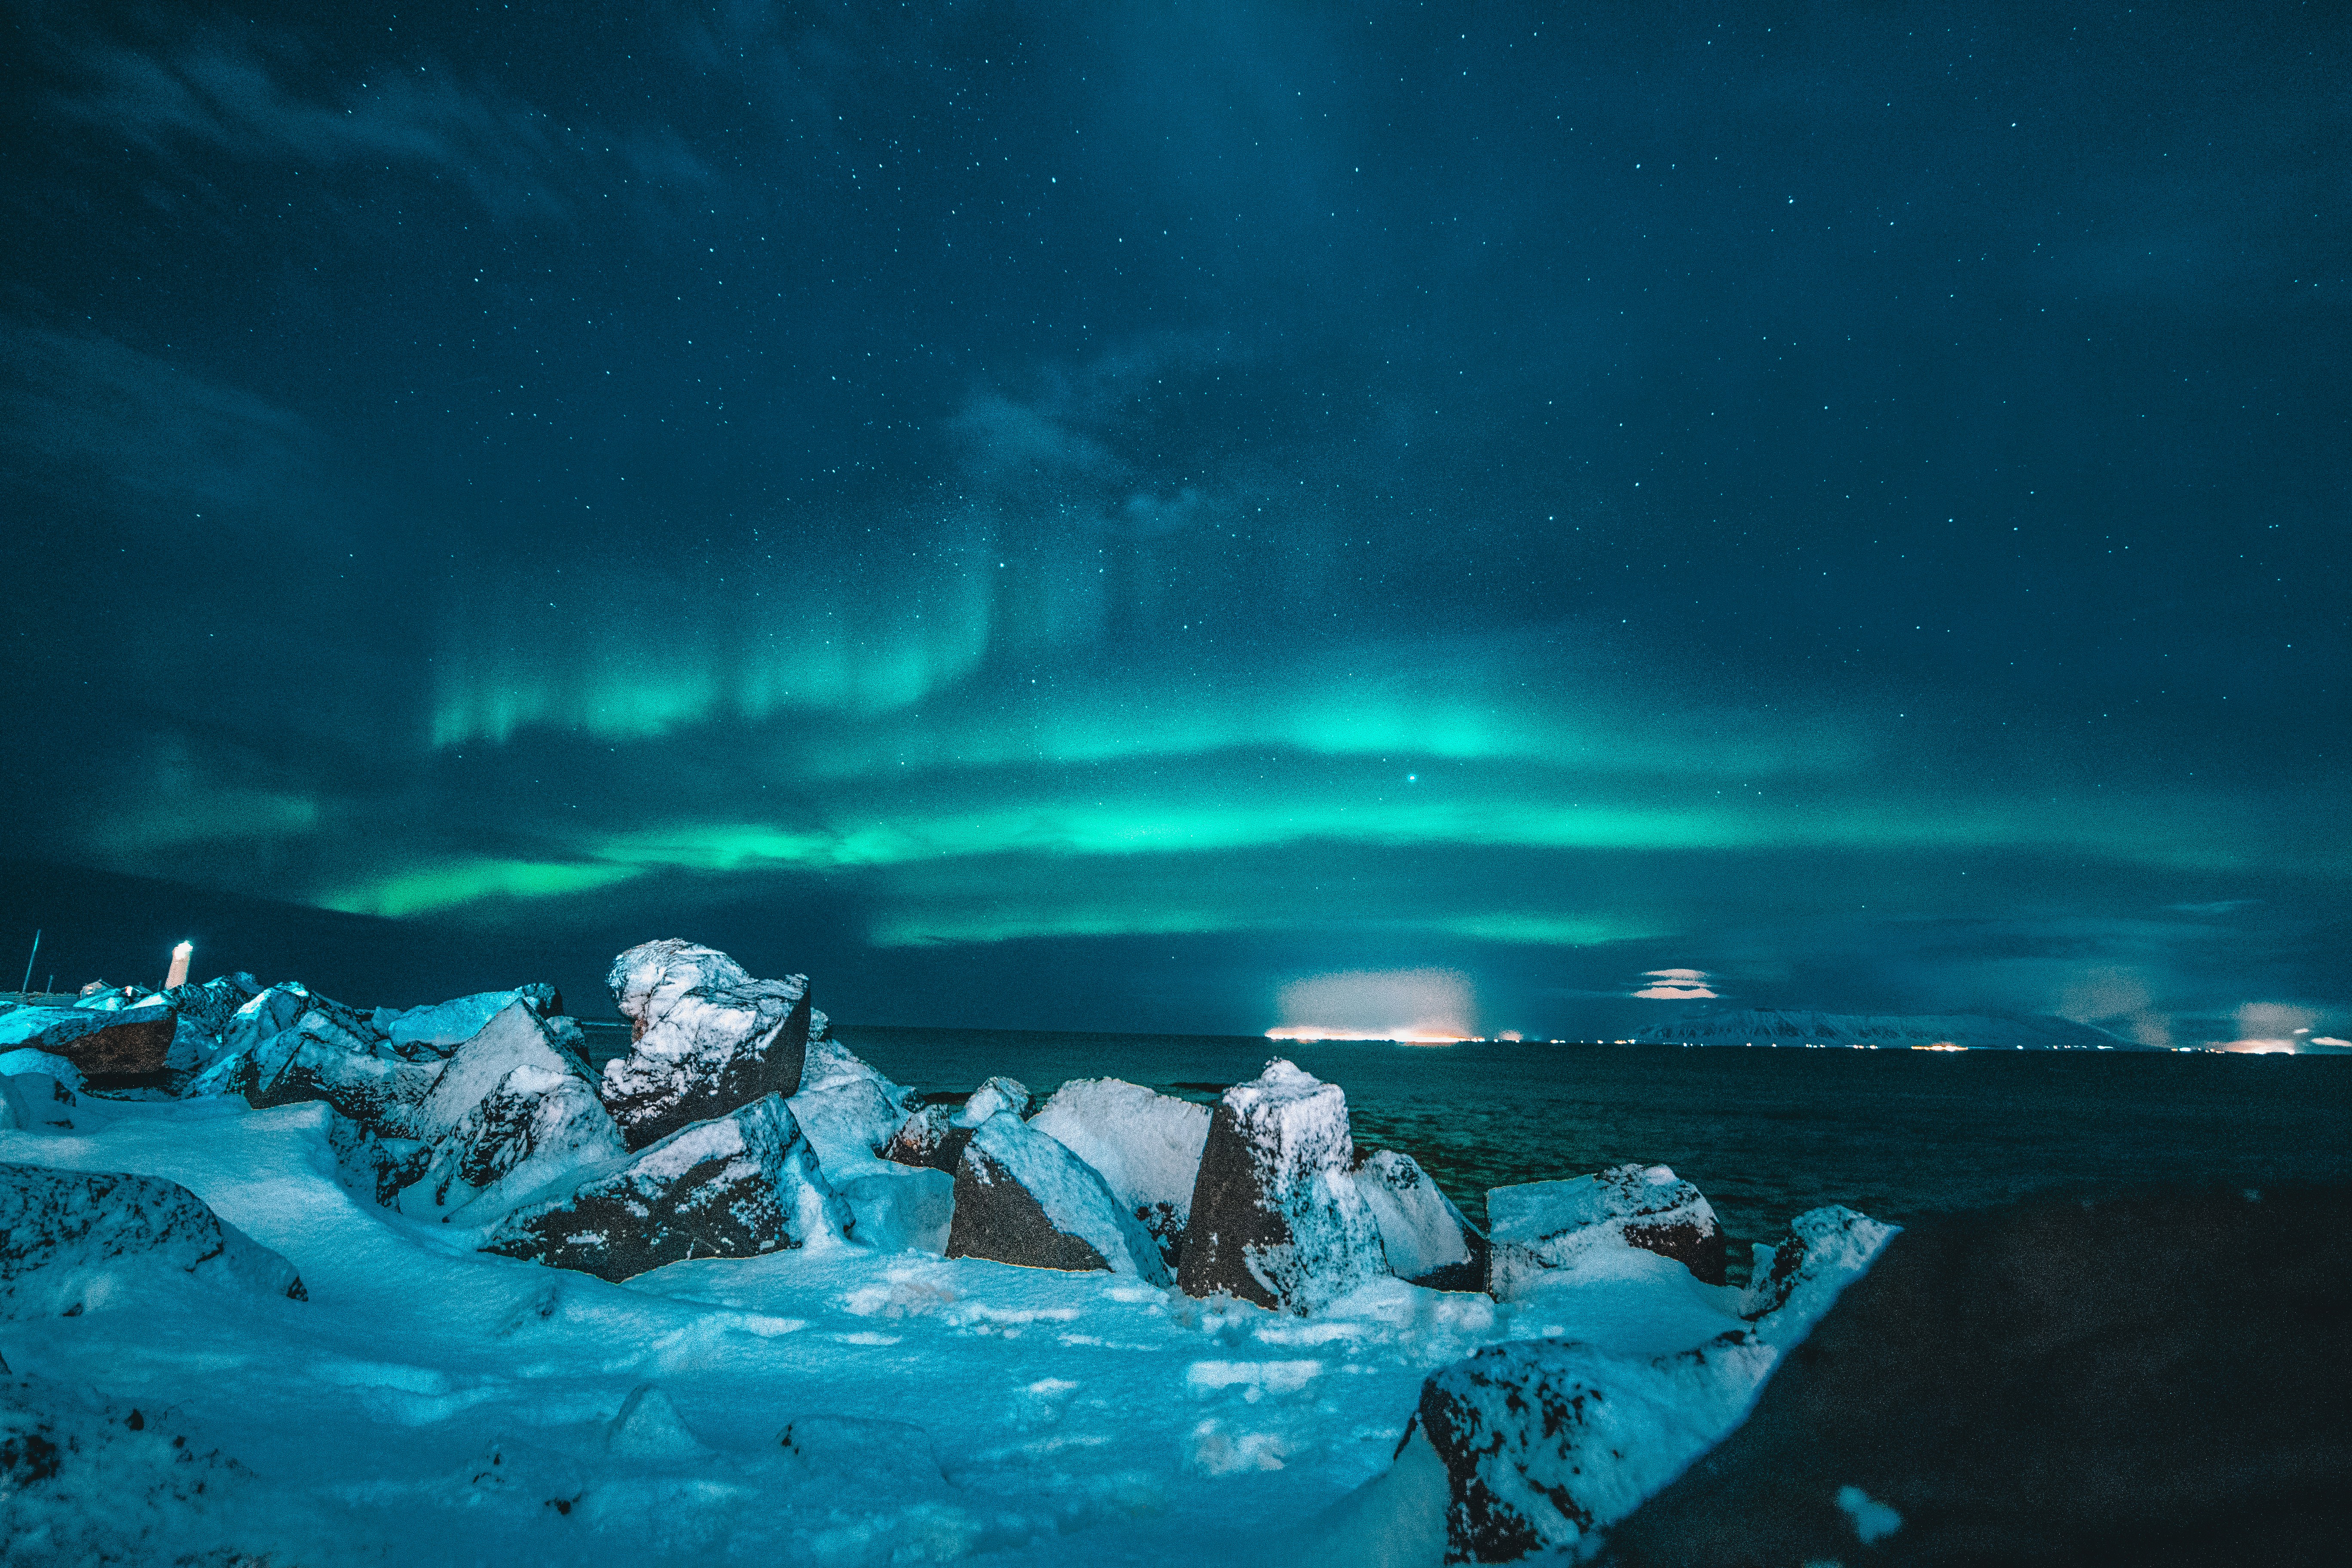
- Appearance: Subtle green glow resembling distant city lights
- Duration: May remain faint for hours or develop quickly
- Detection: Easier to see with peripheral vision
- Photography: Camera may reveal aurora invisible to naked eye
Stage 2: Arc Brightening
- Location: Still low on horizon but more defined
- Appearance: Clear green band with distinct upper and lower boundaries
- Movement: Slight undulation or shimmer
- Color: Predominantly green with possible pink edges
- Excitement Level: Good aurora developing—prepare for more activity
Stage 3: Vertical Development
- Location: Rising higher above horizon
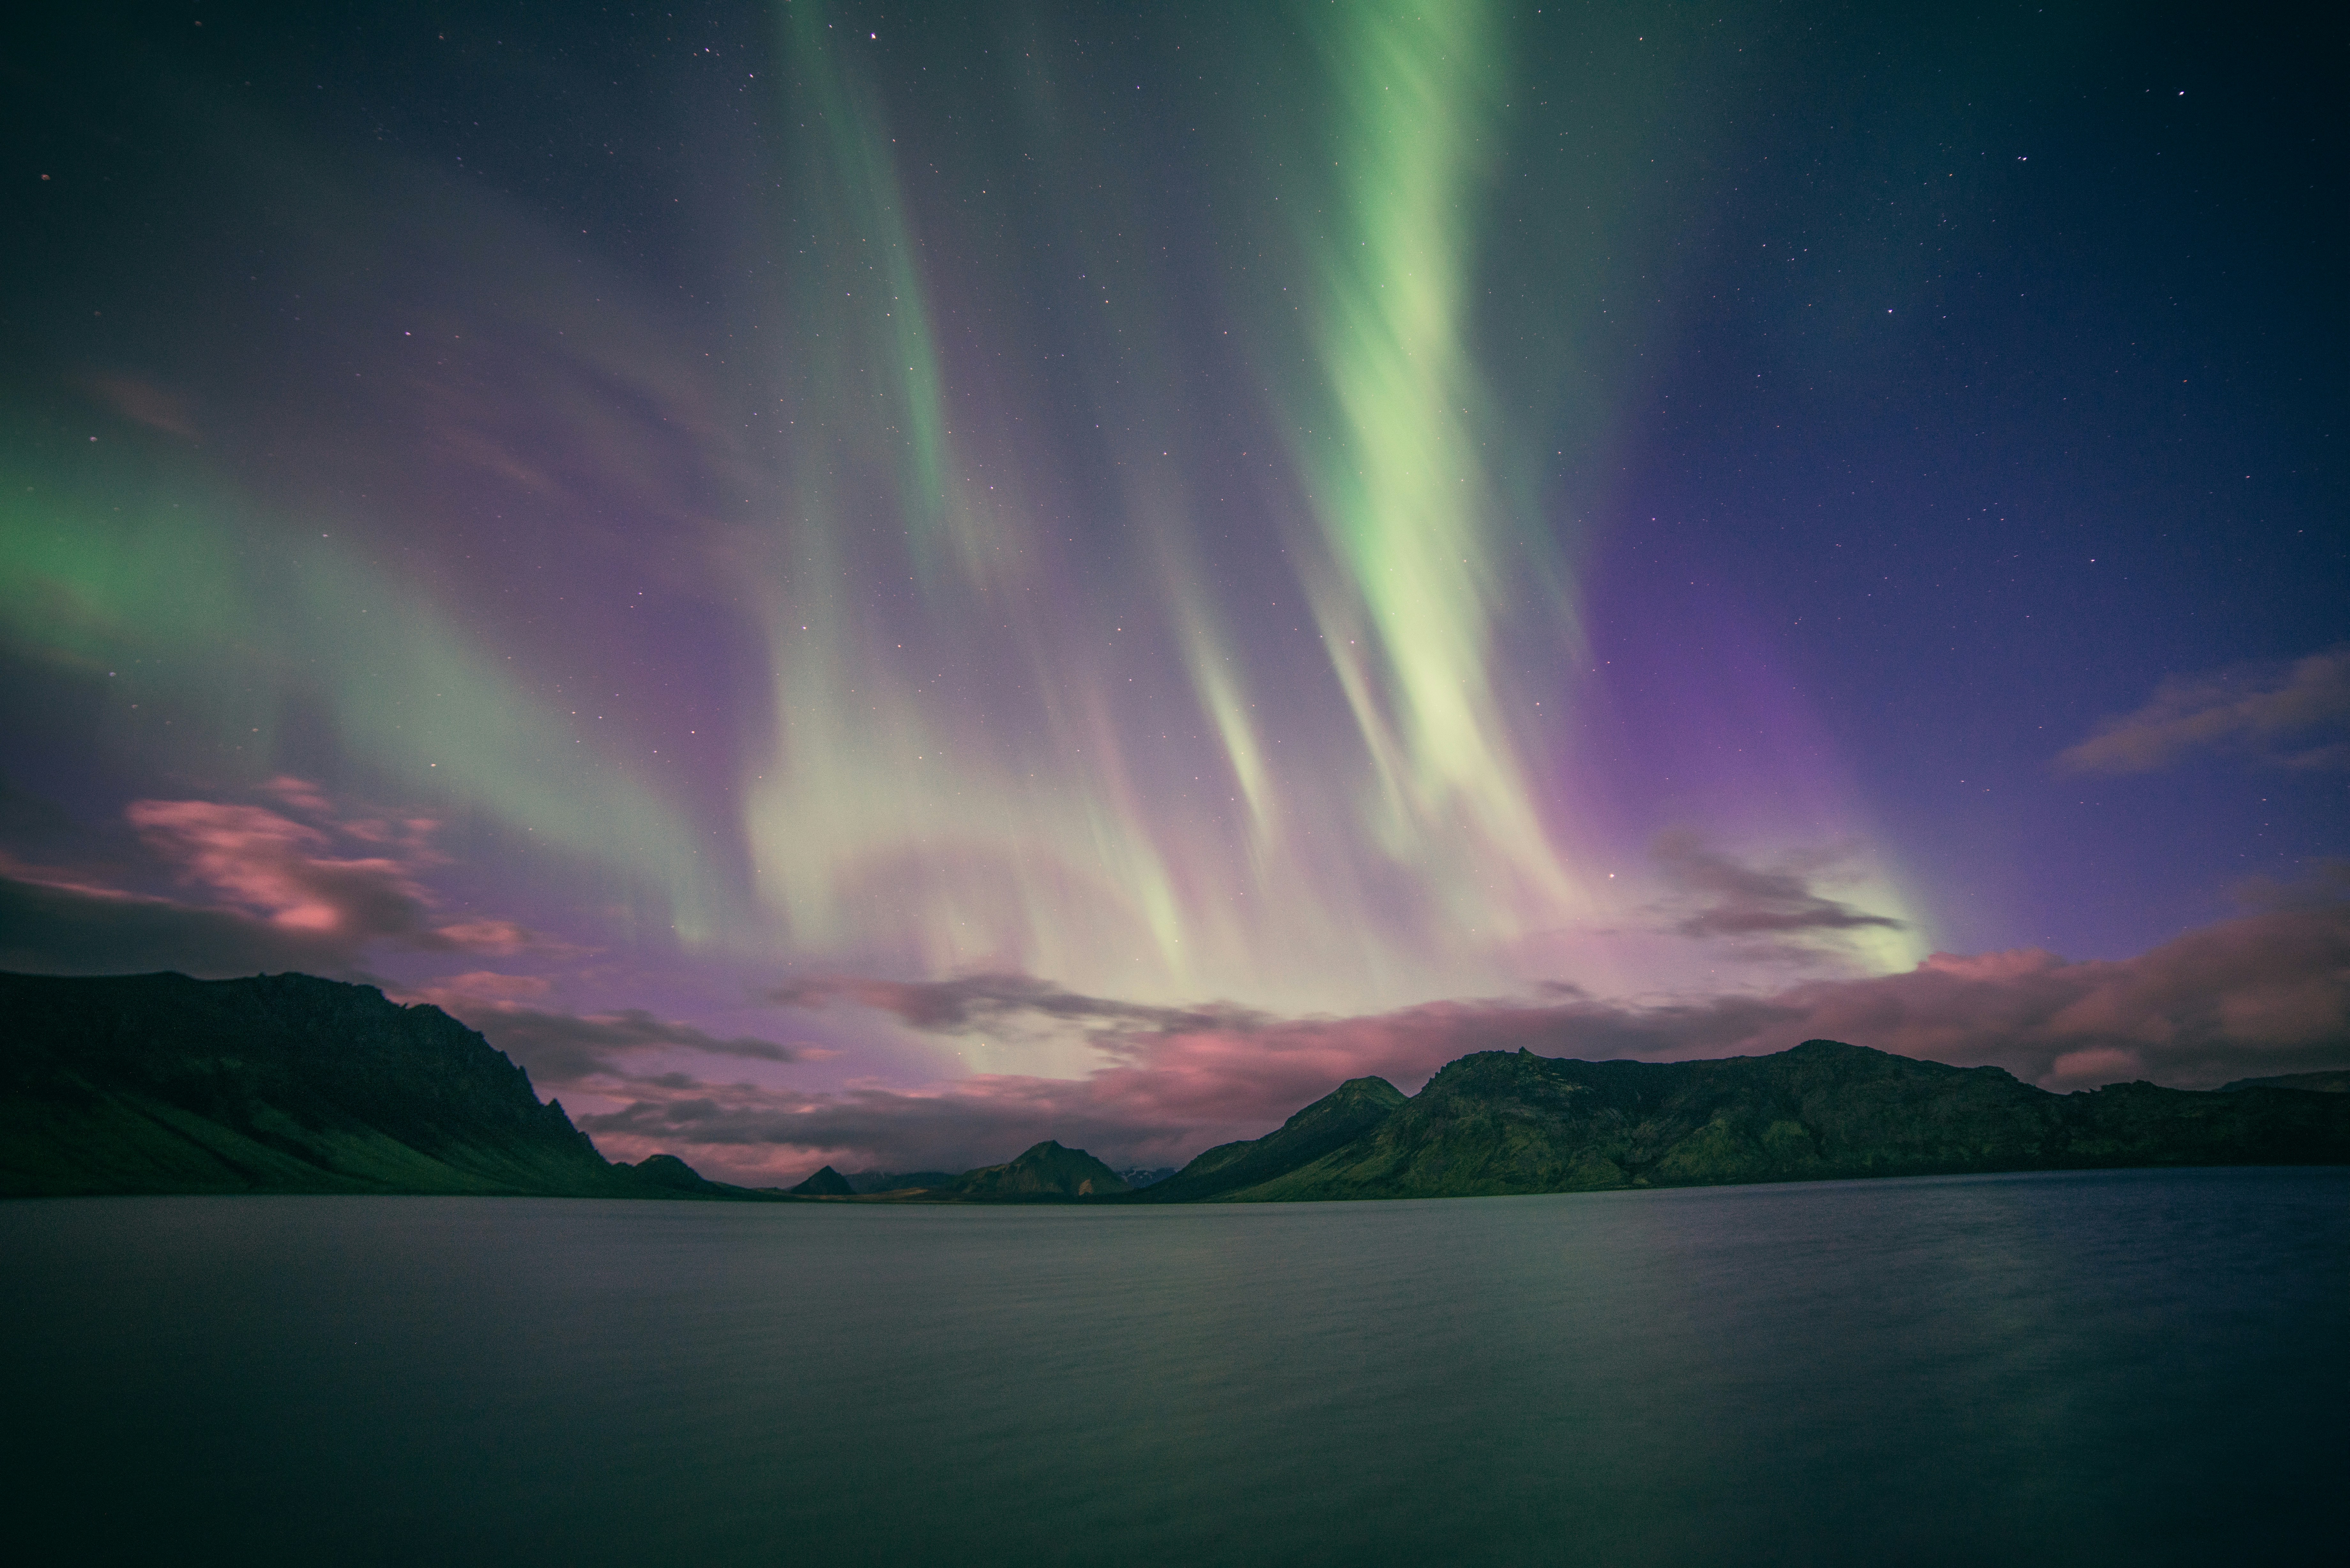
- Appearance: Vertical rays or curtains extending upward
- Movement: Dancing, flowing, or pulsating motion
- Colors: Green dominant with purple, red, or pink additions
- Photography: Excellent conditions for aurora photography
Stage 4: Active Display
- Location: Can reach 50-80° above horizon
- Appearance: Multiple bands, rays, and complex structures
- Movement: Rapid dancing, breakup events, surges of brightness
- Colors: Full spectrum possible including rare reds
- Experience: Peak aurora viewing experience
Stage 5: Corona Formation
- Location: Converging overhead at zenith
- Appearance: Rays appearing to radiate from point directly above
- Movement: Dramatic converging motion toward zenith
- Rarity: Occurs only during most intense aurora activity
- Impact: Most spectacular aurora experience possible
Advanced Aurora Spotting Techniques
Using Peripheral Vision
Night Vision Optimization: Human eyes are more sensitive to aurora light using peripheral rather than direct vision:
- Rod Cell Advantage: Peripheral vision uses light-sensitive rod cells
- Green Sensitivity: Human eyes most sensitive to green aurora wavelengths
- Motion Detection: Peripheral vision better at detecting aurora movement
- Faint Aurora: Indirect viewing reveals aurora invisible to direct observation
- Scanning Technique: Sweep eyes across northern sky rather than staring
Eye Adaptation Protocol:
- Darkness Exposure: Allow 20-30 minutes for full night vision development
- Red Light Only: Use red flashlights to preserve night vision
- Avoid White Light: Bright lights reset adaptation process
- Gradual Exposure: Slowly increase aurora observation time
- Rest Periods: Close eyes periodically to maintain optimal sensitivity
Technology-Assisted Aurora Detection
Camera as Aurora Detector: Modern cameras can reveal aurora invisible to human eyes:
- High ISO Capability: Cameras detect faint aurora through sensor sensitivity
- Long Exposure: 8-15 second exposures reveal hidden aurora structure
- Real-Time Preview: Camera LCD shows aurora presence immediately
- Color Revelation: Camera reveals aurora colors invisible to eyes
- Documentation: Photo evidence confirms aurora sightings
Smartphone Aurora Apps:
- Real-Time KP Index: Monitor geomagnetic activity for aurora probability
- Local Aurora Alerts: Notifications when aurora becomes visible at your location
- Sky Compass: Apps showing exact direction of magnetic north
- Aurora Forecast: Hourly predictions for your specific viewing location
- Camera Enhancement: Apps optimizing phone cameras for aurora detection
Professional Equipment:
- All-Sky Cameras: Continuous monitoring of entire sky dome
- Magnetometers: Detect magnetic field variations indicating aurora activity
- Radio Receivers: VLF radio detection of aurora-related phenomena
- Aurora Monitor: Specialized devices for aurora detection and measurement
- Binoculars: Low-power binoculars enhance faint aurora visibility
Location-Specific Aurora Directions
Lyngen Peninsula Aurora Positioning
Optimal Viewing Directions:
- Lyngseidet Area: Look north-northwest over Ullsfjord
- Storfjord Coast: North to northeast over open water
- Alpine Locations: 360-degree viewing with north emphasis
- Fjord Valleys: North through valley opening for best views
- Cultural Sites: Traditional Sami viewing orientations
Local Geographic Factors:
- Mountain Blocking: Southern mountains may limit southern aurora viewing
- Fjord Orientation: Water bodies provide excellent aurora reflection opportunities
- Light Pollution: Minimal interference allows faint aurora detection
- Weather Patterns: Local microclimates affecting viewing conditions
- Accessibility: Multiple viewing locations for varying aurora positions
Global Aurora Direction Guide
Northern Scandinavia (65-70°N):
- Primary Direction: North to northeast
- Elevation Range: 10-60° typical during active periods
- Local Variations: Adjust for magnetic declination (5-15° east)
- Coastal Areas: Ocean horizon provides unobstructed northern viewing
- Inland Locations: Forest clearings and elevated positions optimal
Northern Canada/Alaska (60-70°N):
- Primary Direction: North (magnetic north closer to geographic north)
- Elevation Range: Often higher overhead due to latitude
- Tundra Advantage: Flat terrain provides excellent 360-degree viewing
- Forest Regions: Clearings and lakes essential for northern horizon access
- Urban Areas: Escape city light pollution for optimal viewing
Iceland (63-66°N):
- Primary Direction: North to slightly northwest
- Elevation Range: Lower latitude requires higher aurora activity for visibility
- Coastal Viewing: Excellent ocean horizon access
- Highland Areas: Elevation advantage for aurora detection
- Weather Challenge: Atlantic weather systems require flexible viewing locations
Common Aurora Spotting Mistakes
Directional Errors
Looking South: Many first-time aurora watchers look in wrong directions:
- Southern Bias: Searching south when aurora appears north
- Light Pollution: Southern lights often city glow, not aurora
- Satellite Confusion: Artificial lights mistaken for aurora
- Moon Position: Bright moon in south drawing attention from northern aurora
- Correction: Always focus primary attention on northern sky sectors
Elevation Mistakes:
- Too High: Looking too high in sky missing horizon aurora
- Too Low: Missing high-altitude aurora during active periods
- Fixed Position: Not scanning full northern sky sector
- Impatience: Giving up before aurora develops fully
- Strategy: Scan from northern horizon to zenith systematically
Timing and Preparation Errors
Inadequate Darkness Adaptation:
- Rushed Viewing: Not allowing eyes to adapt to darkness
- Light Contamination: Using white lights disrupting night vision
- Indoor Starting: Beginning viewing from brightly lit indoor spaces
- Impatience: Expecting immediate aurora visibility
- Solution: Plan 30-45 minutes for proper viewing preparation
Weather Misunderstanding:
- Cloud Ignorance: Not checking cloud cover forecasts
- Aurora vs. Weather: Confusing aurora forecasts with weather predictions
- Local Conditions: Ignoring microclimate variations
- Safety Neglect: Inadequate preparation for outdoor conditions
- Planning: Combine aurora forecasts with detailed weather analysis
Expert Aurora Spotting Tips
Professional Techniques
Systematic Sky Scanning:
- Initial Assessment: Quick 360-degree scan noting overall conditions
- Northern Focus: Concentrate primary attention on northern 120° sector
- Elevation Sweep: Scan from horizon to 45° elevation
- Peripheral Awareness: Maintain awareness of entire northern sky
- Regular Intervals: Repeat scanning every 5-10 minutes
Activity Recognition Hierarchy:
- First Priority: Any green glow on northern horizon
- Second Priority: Vertical structure or columnar appearance
- Third Priority: Movement or brightness variations
- Fourth Priority: Color changes or additional hues
- Peak Attention: Rapid movement or overhead development
Photography Integration
Camera as Spotting Tool:
- Test Shots: Regular camera checks revealing hidden aurora
- ISO Boost: High ISO settings detecting minimal aurora activity
- Composition Planning: Frame shots while monitoring for aurora development
- Time-Lapse Preparation: Set up equipment during initial faint aurora
- Documentation: Record aurora progression for future reference
Knowing where to look for northern lights combines understanding aurora science with practical observation skills and local geographic knowledge. Success requires patience, proper preparation, and systematic scanning techniques that maximize your chances of spotting aurora activity from its earliest stages through spectacular peak displays.
Master the art of aurora spotting during your stay at Lyngen Seaside, where expert guides share professional techniques and local knowledge for finding northern lights in the world's premier aurora viewing destination.


